Pregnancy Henna Ideas for a Stunning Maternity Photoshoot
- angana0403
- Aug 26
- 11 min read
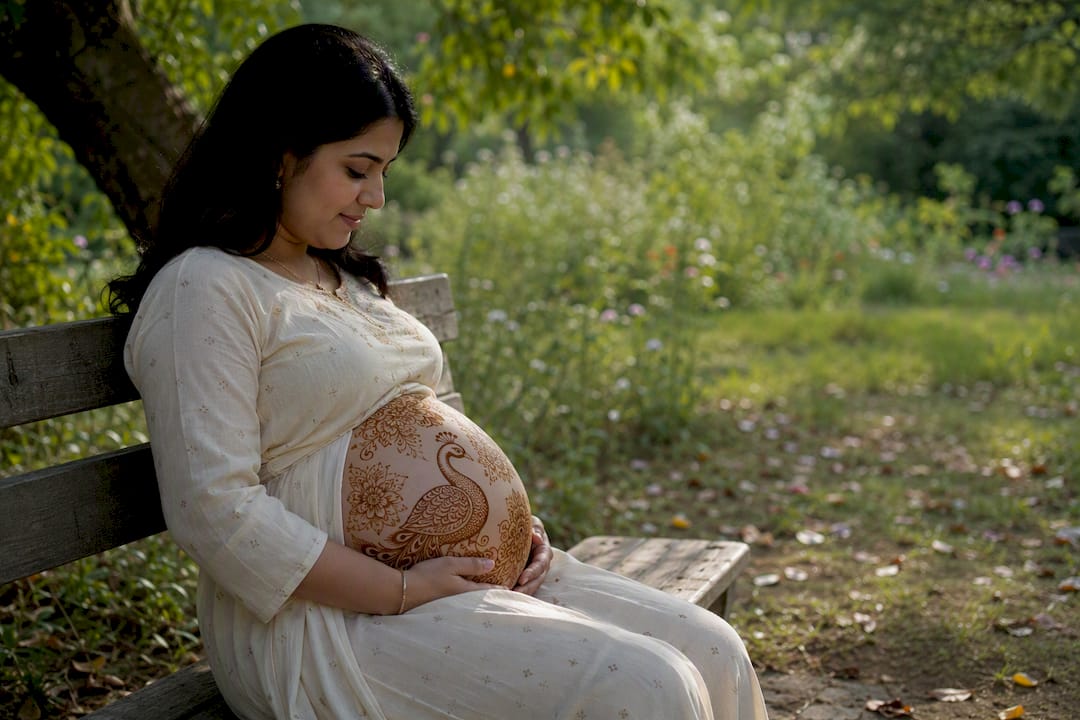
Yes: pregnancy henna is a safe, photogenic way to decorate the baby bump, as long as your artist uses natural paste and knows how to time the session for photos. It reads beautifully on camera, adds a personal, artistic layer that outfits alone can’t, and gives you a design story to tell for years.
Three things to do right now:
Confirm your artist’s paste is plant-based, with no black henna or PPD additives.
Book at least two weeks ahead, and aim for application between 28 and 36 weeks.
Set up a short call between your henna artist and your photographer so the design, lighting, and pose plan all line up.
Key Takeaways
Pregnancy henna produces safe, photogenic results when the artist uses natural paste, applies it at 28 to 36 weeks, and coordinates directly with your photographer.
Point | Details |
Check the paste | Confirm natural, plant-based henna with no black henna or PPD before booking. |
Time it right | Aim for application between 28 and 36 weeks, when the belly holds a design well. |
Book early | Reserve your artist at least two weeks ahead to secure your preferred date. |
Coordinate with your photographer | A short pre-shoot call on lighting and design placement improves every final image. |
Choose an experienced provider | Henna For Fun builds pregnancy henna sessions around photo timing, safety, and photographer collaboration. |
Table of Contents
Maternity Photoshoot Ideas: Pregnancy Henna Designs by Style and Placement
Not every henna pattern photographs the same way. Some are built for a wide-angle belly shot; others shine in close-up detail frames. Here’s a working list, organized by what actually shows up well through a lens.
Belly mandalas. A centered mandala gives photographers an instant focal point for head-on portraits. Expect 45 to 75 minutes depending on detail level, and pair it with a fitted top or bare belly for maximum visibility.
Minimalist single-line accents. A slim vine or arc across the top of the bump reads as modern and understated. Quick to apply, usually under 20 minutes, and works well in soft, editorial-style images.
Floral frames that curve with the belly. These outline the natural curve rather than centering on it, which suits three-quarter poses and gives a romantic, storybook feel.
Tree of life motifs. The branching pattern symbolizes growth and pairs naturally with poses where hands rest low on the belly like roots.
Hand-to-bump linking designs. A pattern that connects the parent’s hand (or a partner’s) to the belly is one of the most requested looks for intimate two-person shots.
Side wraps extending to the ribs. Dramatic and sculptural, these are made for side-profile silhouettes, especially with directional lighting.
Stencil-enhanced geometric patterns. Using a stencil produces crisper lines faster, often in under 30 minutes, which helps on tight shoot schedules.
Pregnancy-safe metallic or gilding accents. Gold leaf details over a healed henna stain photograph well under studio lighting and add a bit of shimmer without chemical risk when the gilding product itself is checked for skin safety.
Tiny footprint motifs or numeric due dates. Small enough for macro detail shots, these become the kind of keepsake image parents print and frame.
Negative-space designs. Leaving deliberate blank areas around the ink creates high-contrast, editorial-looking photos, especially in black and white.
For camera angles, design choice should follow the shot list: mandalas suit straight-on belly portraits, wraps suit side profiles, and hand-linking patterns suit close, intimate framing.
Pro Tip: Ask your artist to sketch the design placement on your body a day or two before the session using washable marker. It lets you and your photographer preview the composition without committing to ink first.
Loose, light-colored fabric drapes well without hiding the design.
Avoid busy prints that compete visually with fine henna lines.
Bare skin under soft window light is often the simplest, most flattering setup of all.
Pregnancy-Safe Henna: Ingredients, Timing, and Aftercare
Skip black henna entirely. Products marketed as “black henna” often contain PPD, a chemical dye linked to allergic reactions that has no place on pregnant skin or anyone else’s. Natural henna paste, made from the plant itself, is the standard for safe application.
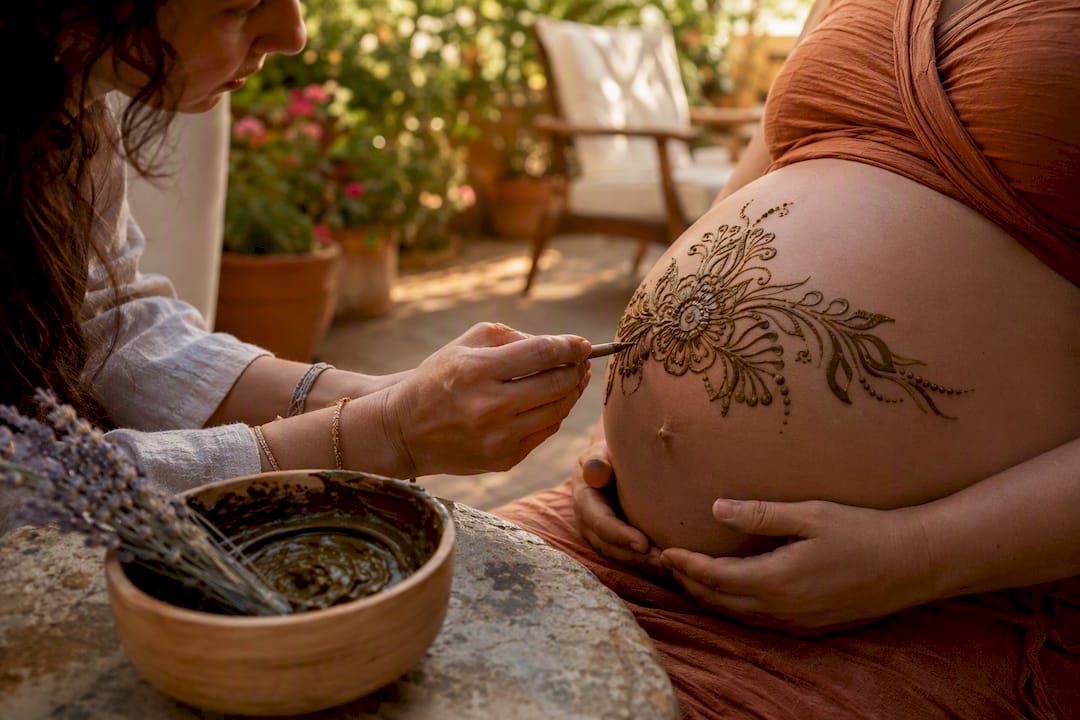
Look for artists who mix pure henna powder with pregnancy-friendly additives, lavender essential oil being a common choice for its calming scent and gentle profile. Ask to see the ingredient list before your session. A reputable artist will show it without hesitation.
Comfort matters as much as the paste itself. Sessions run long enough that a well-ventilated, cool space matters, since pregnancy makes it easier to overheat. Sit somewhere with back support, take breaks if you need to shift position, and keep water nearby.
Timing follows the belly. Most artists recommend application between 28 and 36 weeks, once the bump has enough curve to hold a design without excessive stretching or distortion later.
Aftercare determines how deep and lasting the stain turns out:
Avoid water contact for the first 12 to 24 hours when possible.
Seal the dried paste with a lemon-sugar mix or a light oil, per your artist’s instructions.
Moisturize the surrounding skin daily once the paste flakes off, to keep the stain rich and the skin comfortable as the belly continues to grow.
How Should Your Photographer and Henna Artist Coordinate?
The best results come from a short conversation before anyone picks up a camera or henna cone. Get your artist and photographer talking about poses, lighting, and timing at least a week out.
Discuss lighting needs. Soft, flat light shows fine henna lines better than harsh directional light, which can wash out delicate patterns.
Plan your shot list around the design. Close-ups of hands framing the belly, side profiles for wrap designs, and partner-inclusive shots all photograph differently depending on placement.
Decide on timing. Applying henna two to three days before the shoot gives the deepest, richest stain, while same-day application gives a fresher, lighter look some parents prefer.
Choose wardrobe that contrasts with the henna color without competing with it. Solid colors in cream, sage, or dusty rose tend to let the design stand out.
Behind-the-scenes shots of the actual henna application are worth adding to the list too. Many parents end up loving those candid, in-progress images as much as the posed final shots.
Pro Tip: If your shoot location has limited seating, ask your henna artist to bring a portable stool. Standing through a 45-minute application gets uncomfortable fast in late pregnancy.
Booking a Pregnancy Henna Session: What to Expect
Booking usually follows a simple path: you reach out with your due date and shoot date, have a short consultation about design and ingredients, lock in a time, and coordinate day-of logistics with your photographer if one is involved.
Session length breaks down roughly like this:
Consultation: 10 to 20 minutes to discuss design, placement, and any allergies.
Application: 20 to 90 minutes, depending on complexity and whether you’re adding hands or feet.
Drying and sealing: 15 to 30 minutes before you can move freely.
Pricing varies based on design complexity, whether the artist travels to you, their experience level, and any add-ons like hand or foot work.
Bring these on the day:
Comfortable, loose clothing that’s easy to move in.
Snacks and water, since sessions can run long.
Your photographer’s contact information if they’re arriving separately.
A towel or barrier to protect furniture and clothing from stray paste.
Why Choose Henna For Fun for Maternity Henna
Henna For Fun’s Pregnancy Henna service was built around exactly this moment: a design session that doubles as a calming ritual and a photo-ready centerpiece. Every session uses natural, pregnancy-safe paste, and the team will walk you through ingredients before anything touches your skin.
What a session includes:
A consultation covering design preference, placement, and any sensitivities.
Application at your home or event venue, so you’re comfortable and not rushing across town late in pregnancy.
Direct photographer coordination on timing and design visibility.
Optional pairing with other wellness touches for a full prenatal celebration.
Pregnancy henna works best when the artist treats it as both art and experience. The slow, rhythmic application itself is part of what makes the session memorable, not just the finished design.
Explore pregnancy henna designs and safety guidance for more inspiration before your consultation, or check the private lesson options if you’d rather learn a simple design to apply yourself between professional sessions.
Creative Maternity Photoshoot Themes and Locations
The setting shapes how a henna design reads on camera. A garden or vineyard backdrop, for instance, echoes the organic curves of a floral belly design in a way a plain studio wall can’t. Golden-hour outdoor sessions near water, wildflower fields, or tree-lined paths give natural texture behind intricate patterns without competing for attention.
For a more controlled look, a minimalist studio with a neutral backdrop puts the henna itself front and center, especially useful for high-contrast or negative-space designs. Home settings work surprisingly well too. A nursery-in-progress, a favorite reading nook, or natural window light in the living room can feel more personal than any rented location.
Seasonal themes add another layer: soft fabric and pastels for a spring shoot, warm layered textures for fall, or a beach setting at sunset for a coastal maternity session. Wineries and botanical gardens, both popular for henna-focused shoots, tend to offer the kind of soft, diffused light that flatters fine linework.
Whatever the theme, keep the henna visible in at least a few frames. A stunning backdrop is easy to find; a well-lit shot of the design itself is the one you’ll want printed and framed.
Posing Ideas to Flatter Every Trimester
Early in the third trimester, poses that show the belly’s full silhouette from the side work well, since the curve is defined but the mother still moves comfortably. Hands resting on the lower belly, arms framing the sides, or a gentle lean back all highlight the shape without strain.
By 34 to 36 weeks, standing poses for extended periods get harder. Seated poses, leaning against a wall or doorway, or reclining on a bed with soft linens take pressure off the back while still showing the bump clearly. Side-lying shots on a chaise or bench also work beautifully for wrap-style henna designs that extend toward the ribs.
Partner poses, forehead-to-forehead with hands stacked on the belly, or a partner kneeling to kiss the bump, add warmth and tend to be the images clients revisit most. For solo shots, a three-quarter turn toward the camera, rather than straight-on, generally creates the most flattering line for any body shape.
Comfort should drive every pose choice. A photographer who checks in and adjusts quickly when something feels off will get better, more natural expressions than one chasing a rigid shot list.
Adding Props and Family Members to the Shoot
Props work best when they add meaning rather than clutter. Ultrasound photos held near the belly, tiny baby shoes balanced on the bump, or a chalkboard sign with the due date are simple, low-cost touches that photograph cleanly, especially next to a detailed henna design.
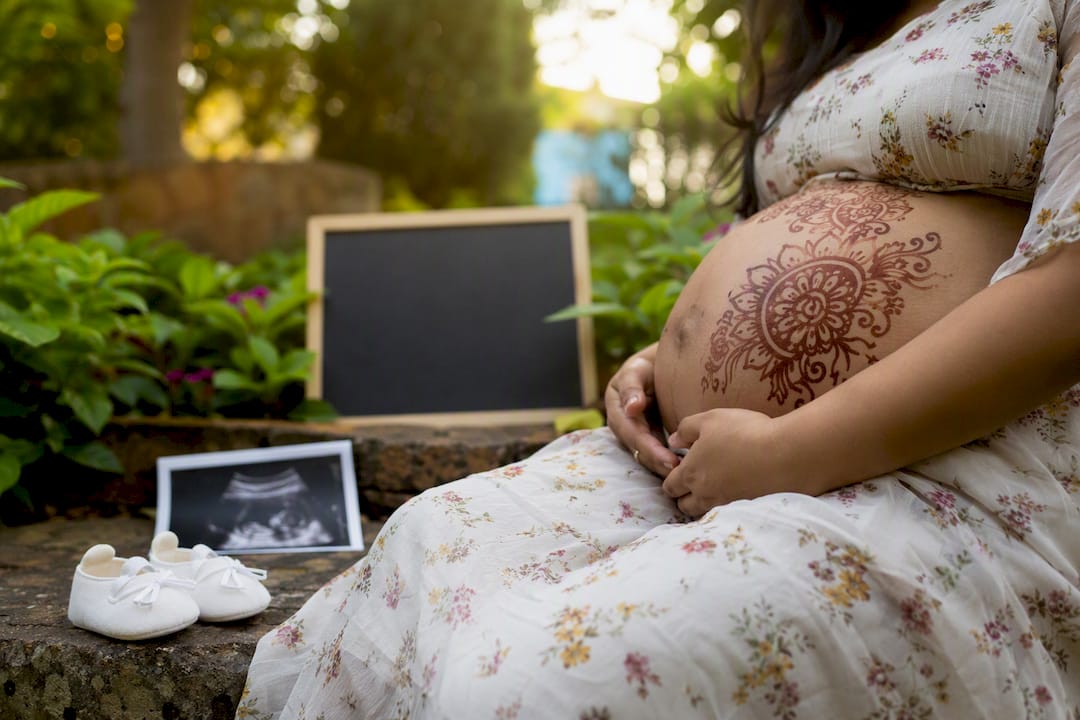
Family involvement changes the tone of a shoot entirely. Older siblings kissing or hugging the belly, a partner’s hands layered over the parent’s, or a full family circle with hands stacked on the bump all create images that feel lived-in rather than staged. If henna extends to a small design on a sibling’s hand or wrist, matching it to the parent’s belly art ties the whole family into one visual story.
Pets make an appearance in plenty of maternity sessions too, and they tend to relax everyone in front of the camera, which shows in the final images.
Keep prop use restrained around the henna itself. Busy or reflective objects placed directly over the design can distract from the linework you paid for. A single meaningful item, framed carefully, almost always outperforms a handful of scattered props.
Lighting and Backdrop Choices That Show Off Henna
Soft, diffused light is the single biggest factor in whether henna detail actually shows up in photos. Direct, harsh sunlight creates strong shadows that can hide fine linework, while golden-hour light or open shade brings out the contrast between henna and skin without overexposing either.
Indoors, large windows with sheer curtains create the same soft effect. Studio photographers often use a large softbox or bounce light off a white wall or reflector to flatten shadows across the belly.
Backdrop color matters more than people expect. Neutral tones, cream, sand, soft gray, let the henna design stay the visual focus. Busy or highly textured backdrops compete with intricate patterns and make images feel cluttered.
For side-profile wrap designs, side lighting or a slight backlight can trace the curve of the design along the ribs and belly, adding dimension a flat front light won’t capture. A quick test shot before the real session, checked on a phone or camera screen, tells you fast whether the light is doing the design justice.
Choosing a Maternity Photographer for a Henna-Focused Shoot
Not every maternity photographer has experience shooting fine body art, and that experience shows in the final gallery. Ask to see past work that includes henna, tattoos, or other intricate skin detail. It reveals whether they know how to light and frame for it.
A photographer willing to have a short pre-shoot call with your henna artist is worth prioritizing over one who won’t. That conversation, covering timing, lighting, and shot list, is what keeps the design from getting lost in translation between the artist’s vision and the final images.
Ask about turnaround time, how many edited images you’ll receive, and whether they shoot in a style (bright and airy, moody and warm, true-to-color) that matches the tone you want for the henna itself. Some patterns photograph better in natural, true-color editing rather than heavy filters that can shift the henna’s stain color.
Finally, confirm they’re comfortable with your preferred location and available near your target shoot date, ideally the same window your henna artist recommends for the freshest or deepest stain, depending on which look you’re after.
What Actually Matters in a Pregnancy Henna Photoshoot
Most guides treat henna as a decorative afterthought bolted onto a standard maternity shoot list. That’s backwards. The design, the timing, and the artist-photographer conversation should shape the whole session, not get squeezed in around it.
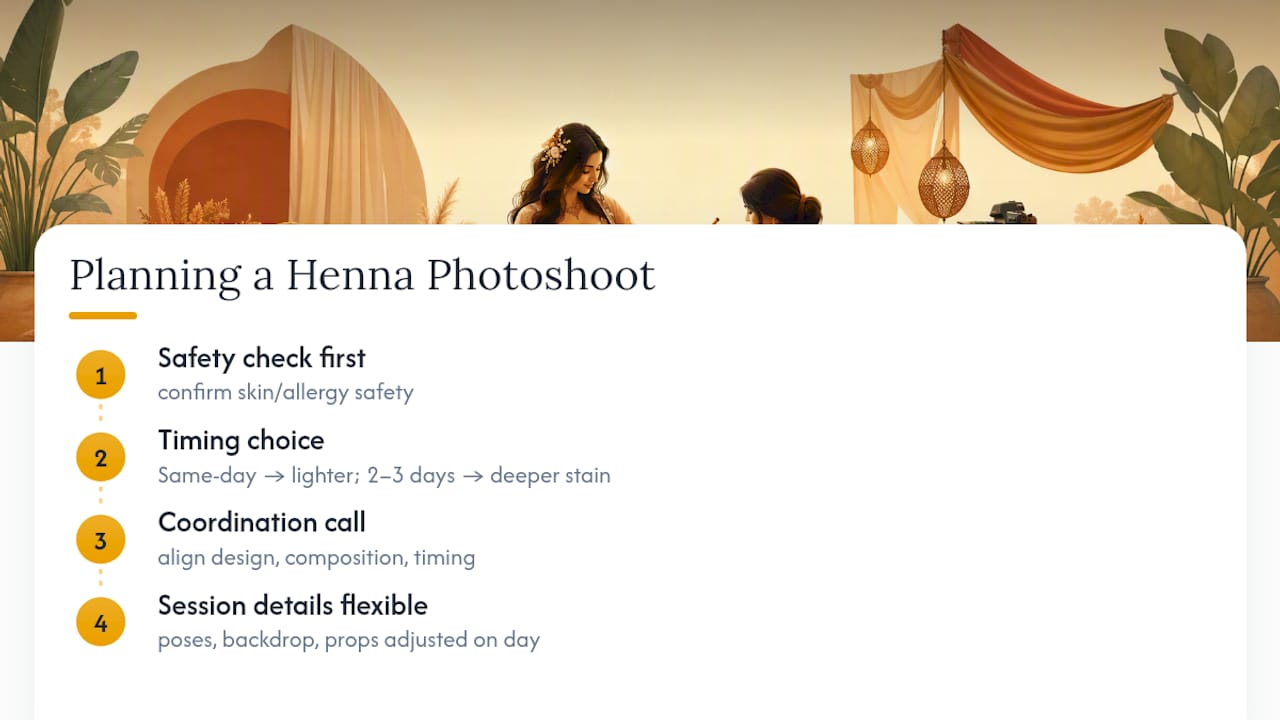
The biggest gap in conventional advice is timing. Plenty of articles say “get henna before your shoot” without explaining that a two-to-three-day gap produces a deeper stain, while same-day application gives a lighter, fresher look. That’s not a minor detail. It changes how the final photos look.
Prioritize the safety check first, always. Then timing. Then the coordination call. Everything else, the pose, the backdrop, the props, is easier to adjust on the day than a rushed or mismatched henna design.
If there’s one thing worth pushing back on, it’s the idea that henna is just an accessory to the shoot. Done right, it’s the reason the photos feel different from every other maternity gallery online.
— Angana
Book Your Maternity Henna Session with Henna For Fun
Hennaforfun is the option for expectant parents who want henna designed specifically for a maternity shoot, not a generic pattern picked off a wall chart. Every design gets built around your due date, your camera plan, and your comfort, using natural paste checked against the safety points covered above.
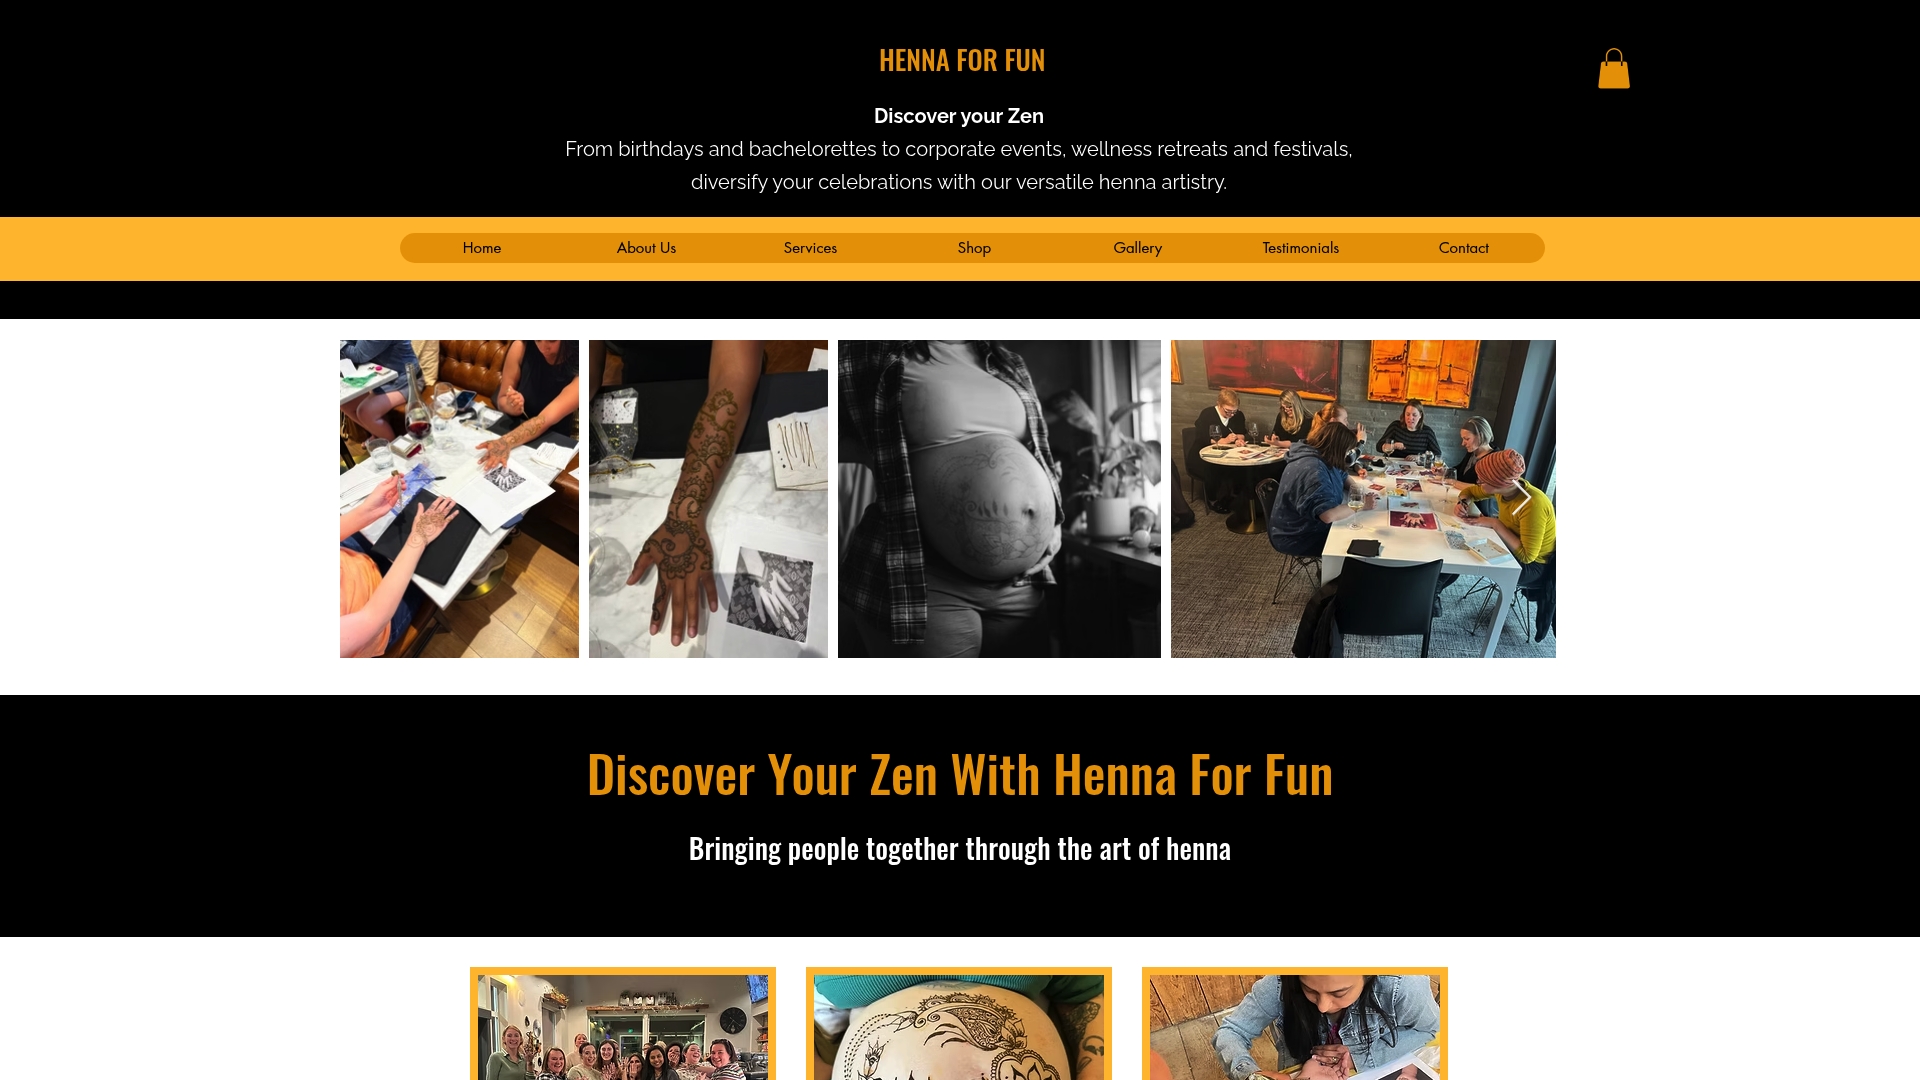
Sessions come to you, whether that’s home, a studio, or your shoot location, so you’re not adding another stop to an already busy late pregnancy schedule — see our Pregnancy and Travel Insurance: Essential Guide for Travellers if your shoot involves travel plans. The team works directly with your photographer on timing and placement, which solves the coordination problem most parents don’t think about until it’s almost too late.
Ready to lock in a date? Visit the pregnancy henna services page to check availability and start your consultation, ideally two or more weeks before your target shoot date.
Sources
Recommended
Comments