Beginner Henna Designs: 10 Easy Motifs to Try
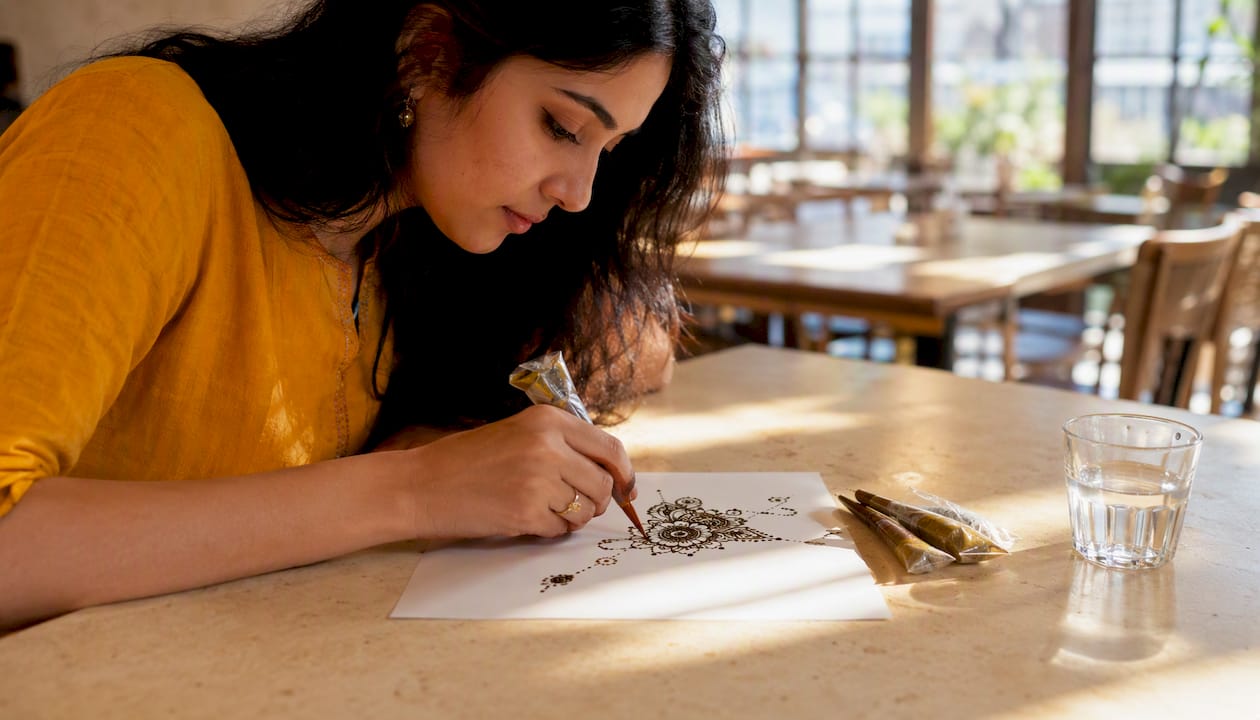
The five easiest beginner henna designs are fingertip dots/caps, a single-flower mandala (Gol Tikki), a single-finger vine, a simple wrist bracelet band, and geometric dot-and-line accents. Each one fits on a small area of skin and takes only a few minutes to complete, and forgives the shaky lines that come with a first attempt. Here is where each one lands best:
Fingertip dots/caps: Apply directly to the fingertip pad or nail edge. The small surface means less paste, faster drying, and zero commitment to a large design.
Gol Tikki (single mandala): Center it on the palm. Asymmetry barely shows at this scale, so it looks balanced even when it is not perfectly round.
Single-finger vine: Run a simple leaf-and-dot chain along one finger from base to tip. Finger mehndi designs can take under five minutes for a dot-and-line pattern.
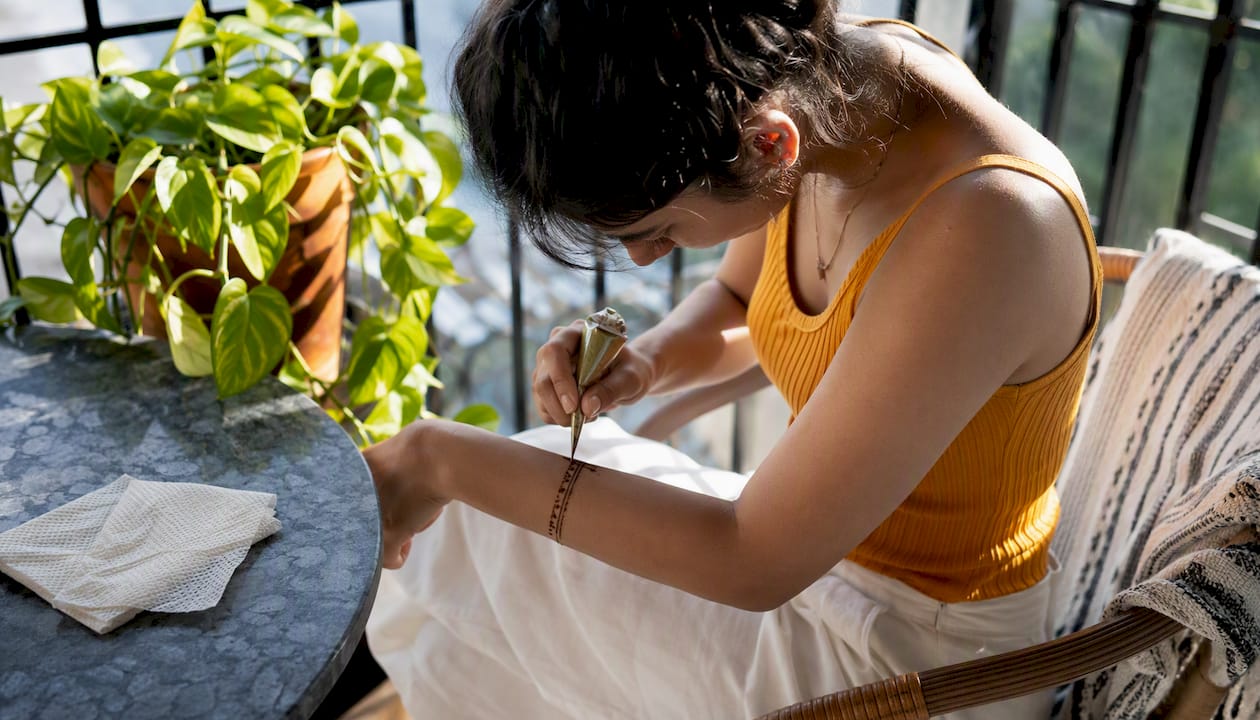
Simple wrist bracelet band: Draw a thin band around the wrist like a bracelet. It mimics jewelry and stays narrow enough to finish in one pass.
Geometric dot-and-line accents: Place small chevrons or dot clusters on the back of the hand near the wrist. These are the most forgiving of all because each element is independent.
Pick one motif, trace your hand on paper, and practice that single design before touching skin. Hennaforfun’s beginner resources are a good starting point if you want guided practice alongside these instructions.
Table of Contents
What tools and skin prep do beginners actually need?
You do not need much. The list that trips most beginners up is not the tools themselves but the order of prep steps. Get these right and your first application will go far more smoothly.
Starter kit checklist
Pre-filled henna cones (or the Hennaforfun DIY Henna Kit): pre-filled cones are the single best choice for beginners because they remove paste-mixing complexity entirely. Common beginner mistakes include applying too much pressure and attempting too large an area before mastering cone control — a pre-filled cone at least removes one variable.
Tissues and cotton swabs: for blotting smudges immediately.
Small scissors: to snip the cone tip to the right opening size (start tiny — a 1mm opening is plenty).
Tape: to seal the cone end between uses and to mask skin edges for clean lines.
Lemon juice and sugar: mixed into a simple seal solution to brush over dried paste.
Optional stencils: Hennaforfun henna stencils work well as training guides while you build freehand confidence.
Skin prep
Wash the application area with soap, rinse, and let it dry completely. A light exfoliation the day before (a gentle scrub or dry brushing) removes dead skin cells and helps the paste make better contact with fresh skin. Skip lotion, oil, or sunscreen on the day of application. Any barrier on the skin surface weakens the stain before it starts.
Spot test first. Apply a small amount of paste to the inside of your wrist or elbow, leave it for 30 minutes, then remove and wait 24 hours. If there is no redness, itching, or swelling, you are clear to proceed. Always use natural henna. Products marketed as “black henna” frequently contain PPD (para-phenylenediamine), a chemical dye that causes serious skin reactions and is not traditional henna at all. Avoid PPD-containing products and patch-test before any full application.
Storage
Henna paste oxidizes and loses potency quickly at room temperature. Refrigerate cones you plan to use within a week; freeze them for longer storage. Thaw at room temperature for 30 minutes before use. Hennaforfun’s guide on how to store henna cones covers this in detail and is worth bookmarking.
Holding the cone
Hold it like a pen, near the tip, with your index finger resting on top for pressure control. Squeeze from the top of the cone downward, not from the middle, or you will push paste back up and lose control of flow.
Step-by-step instructions for 6 simple beginner designs
Minimalist finger designs and single mandalas are among the most popular starting points because they require minimal surface area and reward simple, repeated strokes. Before you touch skin, trace your hand on paper and run through each design twice. The paper surface is more forgiving than skin, and the muscle memory you build there transfers directly.
Design 1: Fingertip cap
Placement: Pad of the index or middle finger. Time: 3–5 minutes.
Hold the cone at a 45-degree angle to the fingertip.
Place a single dot at the center of the fingertip pad.
Draw a small semicircle around the dot, curving toward the nail.
Add three small dots along the outer edge of the semicircle.
Fill the semicircle lightly with thin parallel lines or leave it open for a cleaner look.
Let dry undisturbed for at least 20 minutes before touching.
Design 2: Gol Tikki (single palm mandala)
Placement: Center of the palm. Time: 10–15 minutes.
Place one dot exactly in the center of your palm.
Draw a small circle around it, about the size of a dime.
Add six evenly spaced petals around the circle, each one a simple teardrop shape.
Place a dot at the tip of each petal.
Draw a second, larger circle connecting the outer tips of the petals.
Add small dots or short lines between each petal along the outer circle.
Optional: add a third ring of alternating dots and dashes for more detail.
“Start with a dot in the center, spiral outward, add petals and dots — this yields a balanced look even with small asymmetries.” A Gol Tikki does not need to be perfect to look intentional. The eye reads the overall radial shape, not the individual wobbles.
Design 3: Single-finger vine
Placement: One finger, base to tip. Time: 5–7 minutes.
Draw a thin curved line from the base of the finger to the tip, staying slightly off-center.
Add small leaf shapes alternating left and right along the vine, each one a simple pointed oval.
Place a dot at the base of each leaf.
Add one or two tiny dots between leaves for spacing.
Finish with a small dot or cap at the fingertip.
Design 4: Minimalist wrist bracelet
Placement: Around the wrist. Time: 5–8 minutes.
Draw a thin, continuous line around the wrist, keeping pressure even throughout.
Add a second parallel line just above the first, leaving a 2mm gap.
Fill the gap with evenly spaced dots or short vertical dashes.
Add a small flower or three-dot cluster at the top center as a focal point.
Wrist bands are simple to draw, quick to dry, and ideal for building confidence — the linear format means you only need to control one direction of movement at a time.
Design 5: Polka-dot chain
Placement: Along a single finger or across the back of the hand. Time: 3–5 minutes.
Place a large dot at the starting point.
Draw a short curved line from the dot.
Place another large dot at the end of the line.
Repeat, curving the line slightly each time to create a gentle arc.
Finish with three small dots fanning out from the last large dot.
Design 6: Simple paisley
Placement: Back of the hand or wrist. Time: 8–12 minutes.
Draw a teardrop shape about the size of a thumbnail, with the pointed end curving slightly to one side.
Outline the teardrop with a second, slightly larger teardrop outline just outside the first.
Fill the inner teardrop with parallel curved lines.
Add three small dots at the curved tip.
Place a small leaf or petal on each side of the paisley base.
Surround the whole motif with four evenly spaced dots.
Practice template tip: Print a simple outline of your hand at actual size, then sketch each design inside the outline before applying to skin. Tracing your hand on paper to practice cone pressure control prevents frustration from permanent mistakes on the skin. Most beginner patterns are built from repeating a few basic elements: dots, small lines, curves, petals, and leaves. Master those five shapes and you can build nearly any motif.
How to practice until your lines actually go where you want
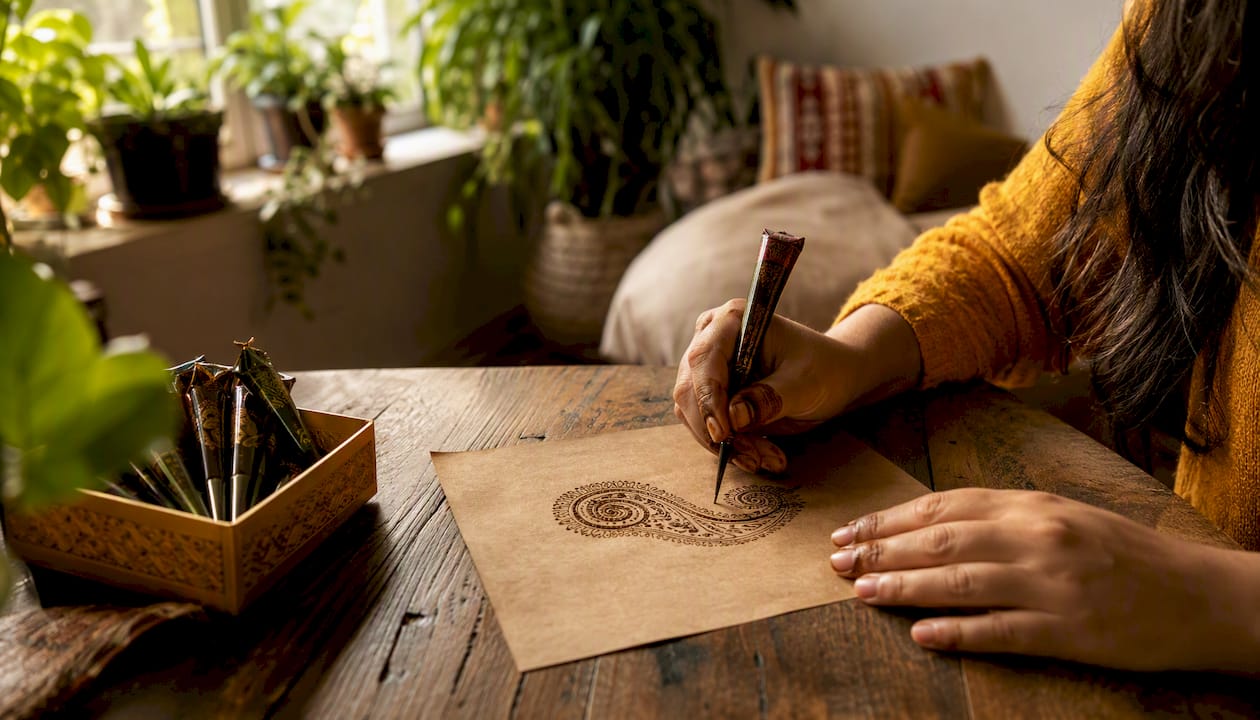
Shaky lines are not a skill problem — they are a pressure problem. The fix is short, daily repetition on forgiving surfaces before you commit to skin.
Five core drills (5 minutes each)
Dot chains: squeeze a dot, lift, move 5mm, repeat. Focus on consistent size, not speed.
Single curved lines: draw one long, smooth arc across the page without stopping. Restart at the top and repeat ten times.
Petal repeats: draw a row of identical teardrop shapes. The goal is matching size, not perfection.
Straight-line chevrons: draw a V shape, then repeat it in a row. This trains directional control.
Spiral tightening: start a spiral from the outside and tighten it inward. This is the exact motion used in the Gol Tikki center.
Surfaces to practice on
Start with paper. A printed hand outline works best because it gives you the actual contours of the skin surface without the stakes. Once lines feel controlled on paper, move to an acetate sheet (the slight resistance mimics skin better than plain paper). The inside of an orange peel is a surprisingly good next step: it is curved, slightly textured, and the paste stains it visibly so you can see your pressure marks clearly. Only then move to real skin.
Pro Tip: Use stencils and pre-filled cones as training wheels in week one, then switch to freehand in week two. Stencils teach you what a clean edge looks like; freehand teaches you how to make one. You need both.
A simple 2-week practice plan
Week 1 (pressure and basics):
Days 1–2: dot chains on paper, 10 minutes each session.
Days 3–4: curved lines and petal repeats on paper.
Day 5: combine dots and petals into a simple flower on paper.
Days 6–7: repeat the fingertip cap design on an orange peel.
Week 2 (combining elements):
Days 8–9: single-finger vine on paper, then on skin.
Days 10–11: Gol Tikki on paper twice, then on palm.
Day 12: wrist bracelet band on skin.
Days 13–14: choose your favorite motif and repeat it three times on skin, focusing on consistency.
Most beginner-friendly patterns are built by repeating a few basic elements — which means the drills above are not just warm-ups. They are the actual vocabulary of mehndi.
How to get the darkest stain from your first application
The stain you see right after removing the paste is not the final color. It starts orange, deepens to a reddish-brown over 24–48 hours, and peaks around the second day. Aftercare is where most beginners lose color they already earned.
Leave the paste on as long as you can. Overnight is ideal. A minimum of 6–8 hours gives a noticeably deeper result than pulling it off after two hours.
Step-by-step aftercare timeline
Let the paste dry completely (20–40 minutes depending on thickness and humidity). Do not blow on it or use a fan — let it air-dry naturally.
Apply the lemon-sugar seal once the surface is dry to the touch. Mix equal parts lemon juice and sugar, warm slightly, and dab gently over the paste with a cotton ball. This keeps the paste moist and pressed against the skin. Sealing dried paste with a lemon-sugar mix and avoiding water for at least 24 hours deepens the stain.
Wrap loosely with medical tape or tissue if you are sleeping with the paste on, to protect bedding without smothering the design.
Scrape the paste off (do not wash). Use the back of a spoon or your fingernail. The paste should flake away cleanly.
Apply a thin layer of natural oil (coconut, olive, or mustard) immediately after scraping. This seals the stain and slows oxidation.
Avoid water on the design for at least 12 hours after removal. Soap accelerates fading fastest.
Stain peaks at 24–48 hours after paste removal, then gradually fades over 1–3 weeks depending on placement and skin type.
Do’s and don’ts
Do: apply heat (sit near a warm lamp or in sunlight) while the paste is on — warmth deepens penetration.
Do: reapply oil daily to slow fading.
Don’t: scrub the area, use exfoliating products, or soak in a bath.
Don’t: apply lotion directly over the design.
If your stain comes out pale or orange: the paste likely came off too soon, or the skin had lotion residue. For photos, shoot in natural light within the first 48 hours when contrast is highest. A warm-toned filter also helps the reddish-brown read more richly on camera.
Common beginner mistakes and how to fix them fast
Most early problems come down to three things: too much pressure, wet skin, and the wrong paste.
Blotting from too much pressure: if a dot spreads into a blob, immediately press a dry tissue flat against it (do not wipe — press and lift). Then use a cotton swab to clean the edge before the paste dries.
Working too fast across curved areas: fingers and knuckles curve away from the cone tip. Slow down at curves and rotate the hand toward you rather than chasing the curve with the cone.
Wet or lotion-covered skin: the paste will not adhere and the stain will be patchy. If you realize mid-application, stop, wipe the area with a dry cloth, wait five minutes, and restart that section.
Paste too thick: it clogs the tip and creates uneven pressure. Warm the cone in your hands for two minutes. If it is still stiff, the paste may be old — refrigerated cones past their use-by date lose workability.
Paste too thin: it spreads and bleeds. There is no easy fix mid-session. Seal the cone and let it rest at room temperature for 10 minutes; sometimes the paste firms slightly as it warms.
“Avoid ‘black henna’ products that contain PPD — choose natural henna powders or ready-made natural cones and patch-test before full application.” A reaction to PPD can be severe and long-lasting. If a product promises a jet-black stain within minutes, it is not natural henna. Natural henna stains orange-to-brown and takes hours to develop. Read the U.S. safety and application rules for henna before buying any product you are unfamiliar with.
When to patch-correct vs. start over: if a single element smudged, clean the edges with a cotton swab and continue. If more than a third of the design is affected, scrape the paste off completely, clean the skin, wait 10 minutes, and restart. Trying to salvage a heavily smudged design usually makes it worse.
Printable templates and placement ideas to guide your first designs
Having a reference in front of you changes everything. These five template ideas cover the motifs in this guide and give you something to trace before going freehand.
Template | Recommended print size | Placement on skin | One-sentence note |
Fingertip cap | 2 cm wide | Fingertip pad | Print at actual size and trace onto acetate for direct reference. |
3-step mini mandala (Gol Tikki) | 4–5 cm diameter | Center of palm | A dime-sized center circle keeps the design proportional for most palms. |
Single-finger vine | Full finger length | One finger, base to tip | Print on a strip of paper and hold alongside the finger while applying. |
Wrist bracelet band | 15 cm long | Around the wrist | Wrap the printed strip around your wrist to check spacing before drawing. |
Tiny paisley | 2.5 cm tall | Back of hand or wrist | Scale down to thumbnail size for a minimal, modern look. |
How to use a printed template
Print the template at actual size, then lay a sheet of acetate or tracing paper over it and trace the outline with a fine marker. Hold the acetate next to the skin as a reference while you apply. Do not press the acetate directly onto skin with paste — transfer only happens through direct paste application.
Photographing your work
Shoot within the first 48 hours, when the stain is darkest.
Use natural light from a window, with the hand held flat and slightly angled toward the light source.
A plain white or dark background makes the design read clearly in photos.
Avoid flash — it washes out the warm tones of a fresh henna stain.
Key Takeaways
Starting with small, isolated motifs and practicing daily on paper before moving to skin gives beginners the fastest path to clean, confident henna application.
Point | Details |
Start with five core motifs | Fingertip dots, Gol Tikki, single-finger vine, wrist band, and geometric accents are the most forgiving starting points. |
Practice on paper first | Tracing your hand and running drills on paper builds pressure control before you commit to skin. |
Leave paste on overnight | A minimum of 6–8 hours, ideally overnight, produces a noticeably deeper stain than a short wear. |
Avoid black henna | Only use natural henna cones; PPD-containing products cause serious reactions and are not traditional mehndi. |
Hennaforfun for guided learning | Hennaforfun offers beginner lessons, a DIY Henna Kit, pre-filled cones, and stencils for first-time artists in the U.S. |
What 20+ years of teaching henna has shown me about beginners
The biggest misconception I see is that beginners think they need to master complex designs before they can call themselves henna artists. They do not. The most striking work I have seen from first-timers has always been the simplest: a single clean mandala, a vine that runs the length of one finger, a wrist band with three dots at the center. Minimalist mehndi is not a compromise — it is a genuine aesthetic, and right now it is one of the most fashionable directions in the art form. Negative space and single-motif placements read as intentional and modern, not unfinished.
What actually separates a beginner who improves quickly from one who stays frustrated is not talent. It is whether they practice the building blocks in isolation before combining them. Five minutes of dot chains every day for two weeks will do more for your control than two hours of attempting full-hand designs on a Saturday.
One more thing: mehndi is a living cultural tradition with deep roots in South Asian, Middle Eastern, and North African communities. Learning it is a wonderful thing. Learning it with some awareness of where it comes from makes it more meaningful, not less. Avoid commercial “black henna” products not just because they are unsafe, but because they have nothing to do with the real art. Use natural henna, learn the traditional motifs, and let the practice grow from there.
Hennaforfun makes it easier to go from first cone to real confidence
Learning henna at home from tutorials gets you started, but there is a gap between “I followed the steps” and “I actually know what I am doing.” That gap closes fastest with hands-on instruction and the right materials from the start.

Hennaforfun offers private beginner henna lessons in Kirkland, Bellevue, Snohomish, and the greater Seattle area, taught by an artist with over 20 years of experience. You work at your own pace, on your own hand, with real-time feedback on pressure, stroke order, and paste consistency. For those who prefer to practice at home first, the Hennaforfun DIY Henna Kit includes everything you need to get started: pre-filled cones, stencils, and application guidance. Handmade henna cones are also available individually for those who just want to pick up a cone and practice the drills in this guide. Book a lesson or order a kit directly at hennaforfun.com.
Useful sources and where to find more templates
These are the resources used to build this guide, plus Hennaforfun’s own pages for supplies, storage, and booking.
Resource | What it covers |
Henna Designs for Beginners — Henna Sooq | Starter motifs, placement guidance, and pre-filled cone recommendations |
Building-block approach, wrist bands, and safety guidance | |
Simple Mehndi Designs for Beginners — Art of Mehndi | Gol Tikki instructions, paper practice method, minimalist trend |
Finger design timing and dot-and-line patterns | |
Aftercare steps, lemon-sugar seal, and stain timeline |
How to store henna cones and keep them fresh — Hennaforfun’s practical storage guide for refrigerating and freezing cones.
Henna classes for beginners — what to expect from a first lesson and how to prepare.
Henna rules in the U.S.: safety, booking, and application — U.S.-specific safety guidance, including PPD warnings and patch-test protocols.
Best henna websites for interactive body art events — a curated collection of trusted galleries and tutorial resources for deeper study.
Recommended
Comments