Stop Shaky Henna Lines: 15–20 Minutes Daily to Master Cone Control
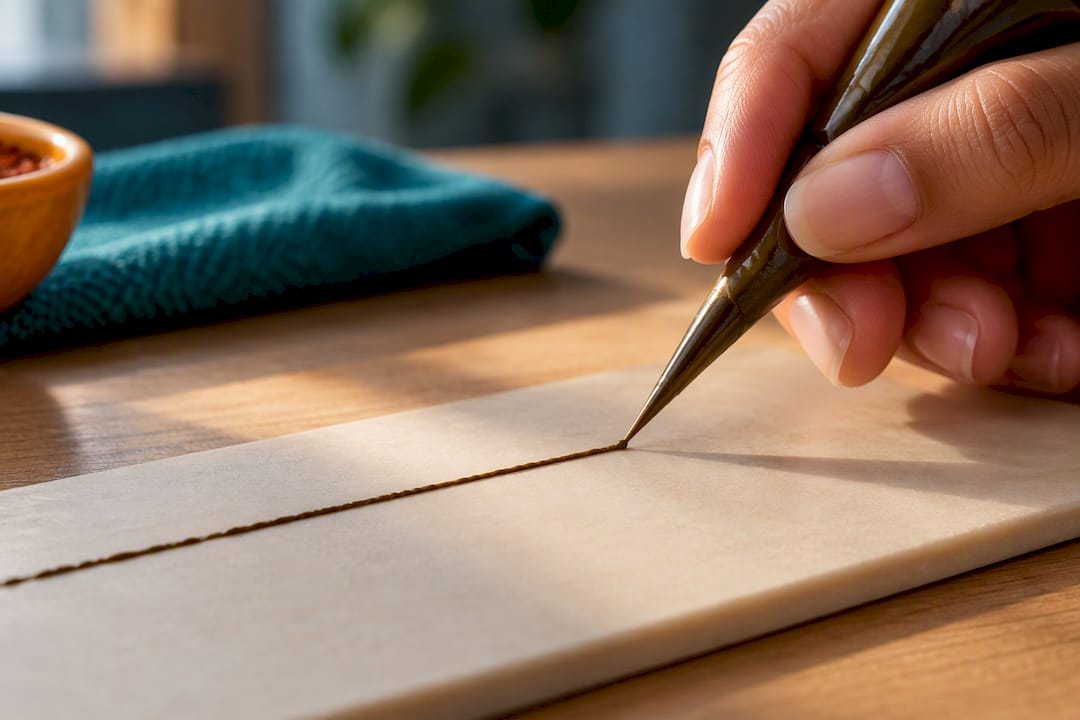
The fastest fix for shaky henna lines is a tiny tip, a test line on paper, and a relaxed grip you barely notice you’re using. Hold the cone like a pencil for fine work or like a piping bag for heavier flow, then build pressure gradually instead of squeezing hard from the first second. If your line breaks or spurts, check the tip, the paste, and how the cone was rolled before you blame your hand.
TL;DR:
Controlling henna flow depends on a tiny tip opening, gradual pressure buildup, and testing on paper before application to prevent flooding or spurts.
Starting with a small, carefully cut cone tip and incrementally enlarging it ensures steady, consistent lines suited to your design needs.
Adjusting squeeze pressure and travel speed independently allows for uniform line width and improves overall control with practice drills.
Supporting the cone with a stable grip, anchoring the hand, and sealing the cone with tape or a clip prevent tremors and leaks during detailed work.
Using a fixed-size metal tip or applicator bottle can provide more predictable flow for those with hand fatigue or limited fine motor control.
Table of Contents
How Do You Hold a Henna Cone for Better Control?
Most control problems trace back to grip, not talent. Two holds cover almost every situation you’ll run into.
Pencil grip: hold the cone between your thumb and first two fingers, close to the tip, the way you’d hold a pen for fine handwriting. This grip gives you the most precision for thin lines, small dots, and detailed motifs, because your fingertips do the steering instead of your whole hand.
Fist or piping grip: cradle the cone in your palm and squeeze with your whole hand, similar to using a piping bag for cake decorating. This works better once the cone is half empty or when a design calls for thicker, bolder lines that need steady, heavier flow.
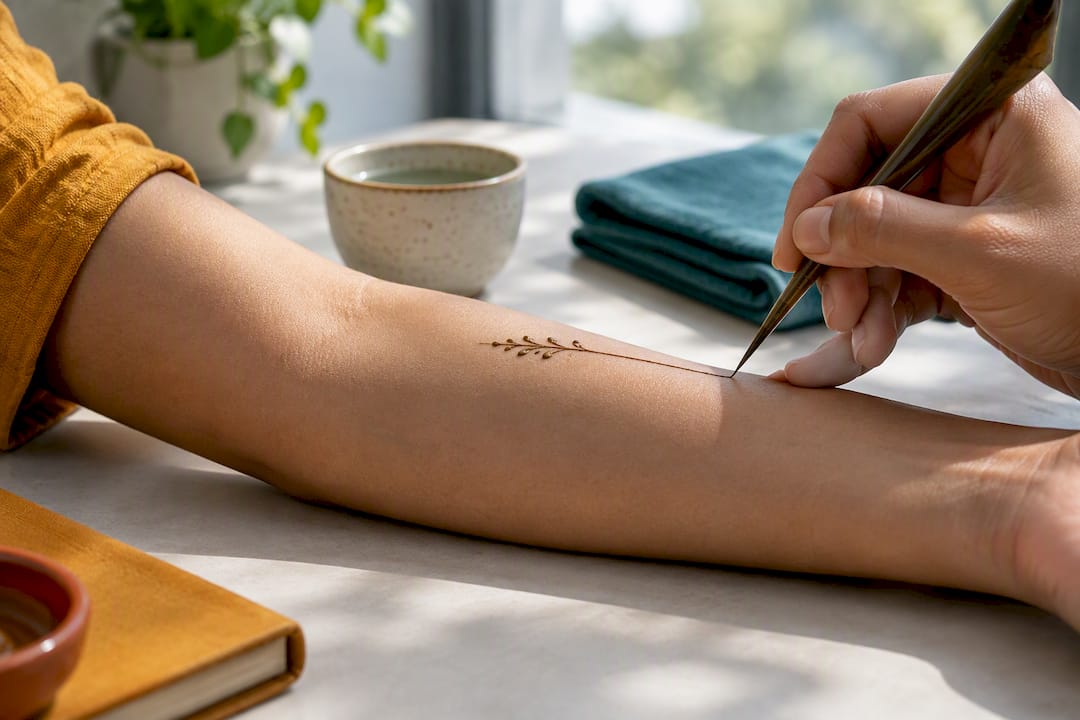
Anchoring matters as much as the grip itself. Rest your pinky or the side of your hand on the skin (or a nearby surface) to kill the small tremors that turn a straight line into a wobble. Your non dominant hand should support the working area, tension the skin slightly, and keep the canvas still. As the cone empties, you’ll likely shift from pencil grip to fist grip, and that’s normal. Full experience of henna cone control means adjusting your hold as the cone’s weight and pressure needs change, not locking into one position for the whole session.
Preparing the Tip: Why Cutting Small Always Wins
An oversized opening is the one mistake you cannot undo. Once the hole is too big, paste floods out no matter how gently you squeeze, and your only real fix is switching to a fresh cone. That’s why cone-rolling guides consistently recommend starting tiny and working up in small increments, testing along the way, rather than guessing at the right size up front, according to Beachcombers Henna Supply’s cone-rolling guide.
Snip the very tip off the cone, or remove the pin if one is already inserted, aiming for the smallest opening you can manage.
Squeeze a short test line onto scrap paper before the cone ever touches skin.
If the line is too thin or won’t flow, enlarge the opening with one more tiny snip, then test again.
Repeat step 3 in small increments until the line width matches what your design needs.
For fine dots or outlines, stop enlarging as soon as a thin, steady line appears. For bold fill lines, you can size up slightly more.
If you ever cut too far and the paste gushes, don’t try to compensate with a weaker squeeze. Set that cone aside for filling large areas or discard it and start a new one.
Mastering Pressure and Speed for Consistent Lines
Line width comes down to two variables working together: how hard you squeeze and how fast your hand travels. More pressure pushes more paste out. Slower movement leaves that paste in one spot longer, which thickens the line. Speed up your hand or lighten your squeeze, and the line thins out. The trap most beginners fall into is changing both variables at once, which makes it almost impossible to tell what actually caused a line to go wrong.
Set a baseline: light, steady pressure at a moderate, comfortable speed.
Increase squeeze in small increments rather than jumping straight to firm pressure.
Change one variable at a time. If a line comes out too thick, slow your squeeze before you also change your speed.
Aim for a concrete target, like a consistent 1 mm line across a full practice row, or dots that stay the same size for ten repetitions in a row.
Pro Tip: Practice drawing the same straight line ten times in a row, changing nothing between attempts. If the width varies wildly, the problem is pressure consistency, not your design skill.
Keeping the Paste Flowing: Fullness, Sealing, and the Tail
A full cone and a half empty cone behave like two different tools. Full cones need lighter pressure because there’s more paste sitting behind the tip, ready to surge forward the moment you squeeze. Near empty cones need firmer, more deliberate pressure since the remaining paste has to travel farther to reach the opening.
Roll or fold the open end of the cone downward as you use it, rather than leaving a loose flap that can unravel mid-design.
Secure that fold with tape, a small clip, or a rubber band to keep the seal tight during a long session.
Push paste toward the tip periodically by rolling the tail down further, instead of squeezing harder at the back.
Avoid over-squeezing a full cone. That’s a common cause of paste leaking out the back seam instead of the tip.
Fixing Clogs, Spurts, and Broken Lines
Inconsistent flow almost never means you need to squeeze harder. It usually means something upstream of your hand needs attention.
Check the tip first. A tiny dried paste crust at the opening can block flow and mimic the feel of low pressure.
Inspect the paste itself for grit, lumps, or a texture that’s gone thick and sticky, since rough paste jams narrow openings.
Look at how the cone was rolled. A loose or collapsed cellophane cone lets air pockets form, which causes sudden spurts instead of smooth flow, a point Beachcombers Henna Supply emphasizes in its rolling instructions.
Clear a blocked tip with a pin, recut a fresh tiny opening, or retire the cone if the paste has dried too far inside to fix.
If the paste separated or feels off after mixing, remix it or start a new batch rather than fighting a bad batch with more force.
Forcing pressure through a clog is what causes those sudden, messy spurts that ruin a clean design. Diagnose before you squeeze harder.
Practice Drills That Build Real Cone Control
Motor skill for henna cone control develops the same way handwriting does: through repetition on a forgiving surface before you touch skin.
Start with rows of dots on paper, keeping size and spacing identical across the row.
Move to straight lines, then curves, keeping your travel speed and cone angle constant throughout each stroke.
Progress to teardrops and small motifs like simple flowers, which combine both pressure control and directional changes.
Track your improvement by measuring consistency: line width variance across ten attempts should shrink each session.
Once paper feels steady, move to a flat patch of skin before attempting curved areas like the back of a hand or wrist.
Fifteen to twenty minutes a day beats an occasional two hour marathon session for building this kind of muscle memory.
Pro Tip: Resting your pinky against the skin becomes especially useful once you move to curved surfaces, since curves remove the flat, stable surface paper gives you for free.
Should You Try a Bottle or Metal Tip Instead of a Cone?
Cones aren’t the only applicator, and they’re not always the right one for every hand. A soft applicator bottle with interchangeable metal tips gives a more predictable squeeze because the tip opening is fixed and uniform, unlike a hand cut cone opening that varies slightly every time you roll one. That consistency helps people dealing with hand fatigue or limited fine motor control.
Bottles require prompt cleaning after each use, since hardened paste inside a metal tip is far harder to clear than a quick recut on a cone.
Metal tips offer repeatable opening sizes, useful if you’re inconsistent with scissors.
Cones stay more portable and disposable, better suited to one-off events or quick touch-ups.
If fatigue is occasional, a bottle for long sessions and a cone for detail work covers both needs. Full time switching to bottles makes sense mainly for chronic hand strain.
What Angana Has Learned From Years of Teaching Henna Control
The single habit that improves a student’s control fastest isn’t a fancy grip or an expensive tool. It’s a relaxed hand paired with a tiny tip and a genuine willingness to test on paper before touching skin. Students who skip that testing step almost always fight their cones longer than students who spend an extra thirty seconds checking flow first.
This teaching approach includes hands-on practice and learning to prepare cones, helping students develop control more easily.
— Angana
Ready to Practice With Guided Support Instead of Trial and Error
Guided practice with a real instructor can catch grip and pressure mistakes in real time, offering benefits beyond solo practice.

If you want structured coaching, private and group henna lessons walk you through grip, tip sizing, and pressure control step by step, including a dedicated session on henna mixing and cone making. Prefer a social setting? A Whenna Event puts you in a room with other beginners and an artist who can correct your hold on the spot. And if you’d rather practice with a cone that’s already rolled right, you can buy handmade henna cones built for consistent, predictable flow from the very first squeeze. Pick whichever path fits your schedule and book it today.
Sources
Henna applied to skin should never contain paraphenylenediamine, the additive found in so called black henna that the FDA warns has caused allergic reactions and scarring. Peer-reviewed research on PPD sensitization in black henna tattoos backs up why sticking to natural henna paste matters for your skin, not just your design.
Henna Cone Rolling 101: Watch the Video Tutorial – Beachcombers Henna Supply
FAQ
Why Is Black Henna Illegal or Restricted in the US?
Black henna often contains paraphenylenediamine (PPD), an additive the FDA has not approved for skin use because it can trigger serious allergic reactions and scarring. Natural henna paste, by contrast, is approved only as a hair dye and is the safer choice for skin application when properly prepared.
How Do I Stop My Henna Cone From Overflowing?
Overflow almost always means the tip opening is too large or you’re squeezing a full cone too hard. Cut a smaller opening next time, test on paper first, and use lighter pressure until the cone is at least half empty.
How Do I Seal a Henna Cone Properly?
Roll or fold the open top of the cone downward as paste gets used, then secure that fold with tape, a small clip, or a rubber band. A tight seal, as Beachcombers Henna Supply notes, keeps paste feeding forward toward the tip instead of leaking out the back.
What’s the Best Way to Practice Henna Cone Control at Home?
Work through dots, straight lines, curves, and small motifs on paper before touching skin, changing only one variable (pressure or speed) at a time. Fifteen to twenty minutes of daily practice builds steadier control faster than occasional long sessions.
Does Henna For Fun Teach Cone Control Directly?
Yes. Henna For Fun’s private and group lessons include hands-on coaching in grip, tip sizing, and pressure control, plus a dedicated henna mixing and cone-making session for $99. Current pricing for all lesson packages is listed on the site.
Recommended
Comments